

Story
This project is very useful for all Garden lovers they can easily irrigate watering the plants by using the Automatic Garden Irrigation System.
Things used in this project
Hardware Components:
Software, Apps, and Online Services:

Hardware Setup
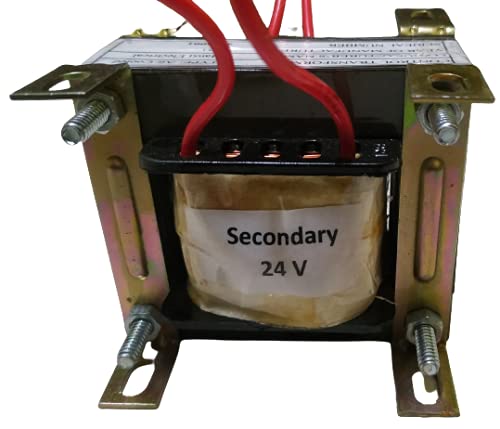
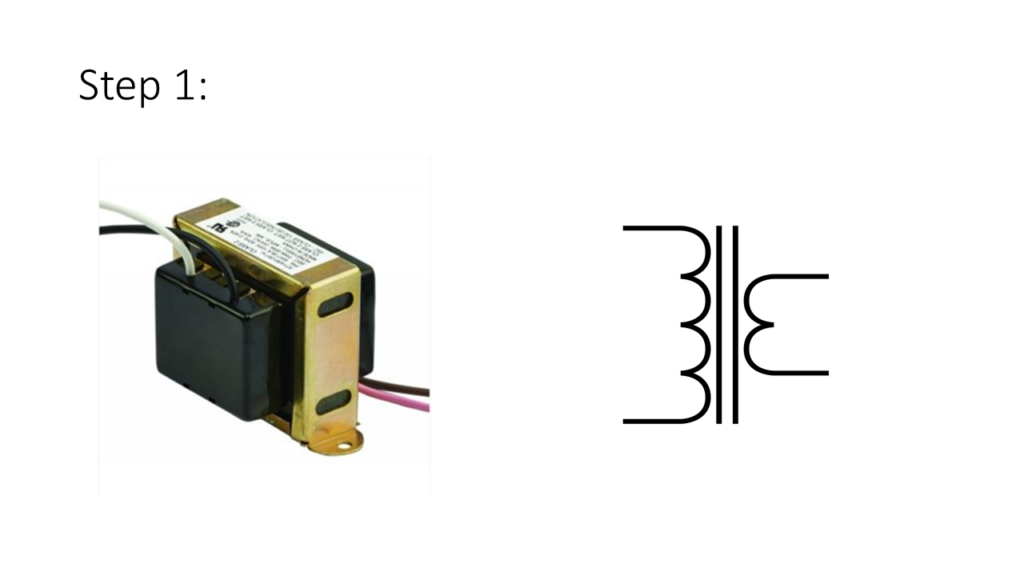
1). Fix a transformer in the correct place, shown in figure(1.1).
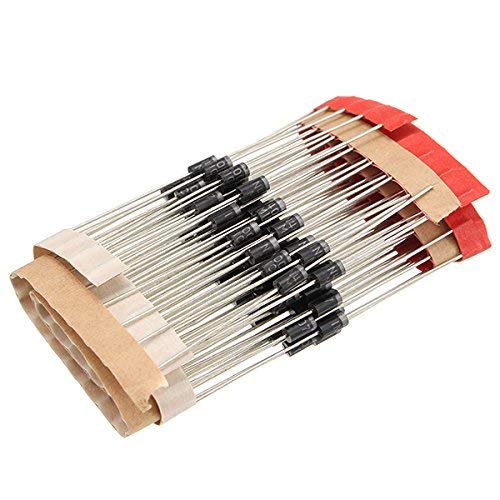
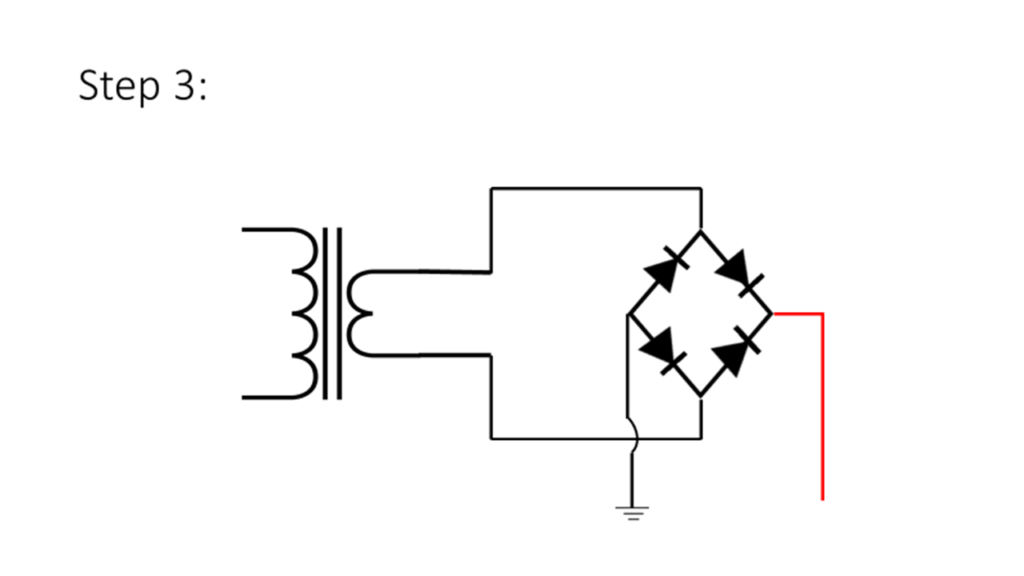
2). Connect a transformer's secondary winding into a full-wave rectifier, shown in figure(1.2).

3). Take two terminals(+,-) out from the full-wave rectifier, shown in figure(1.3).
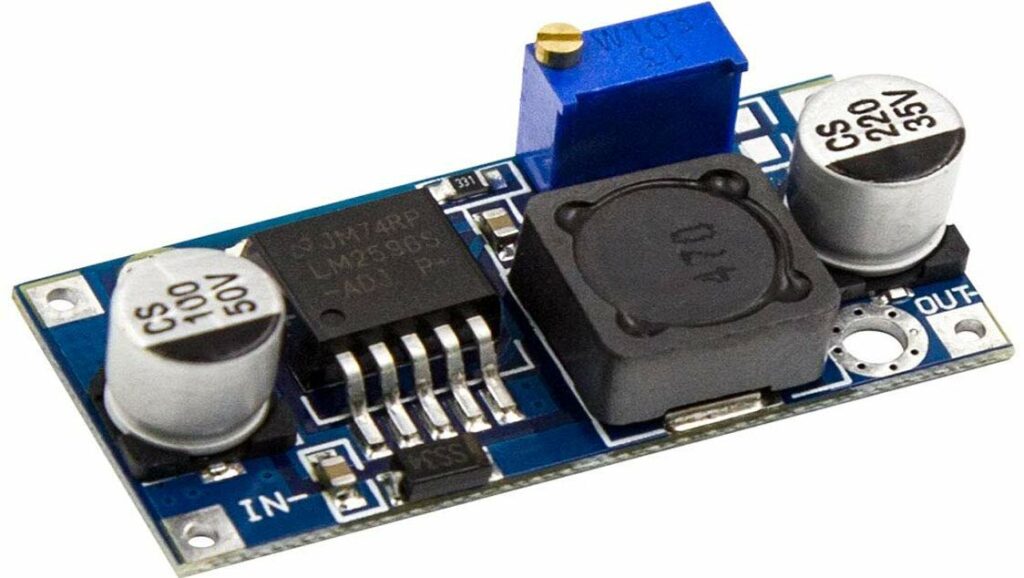
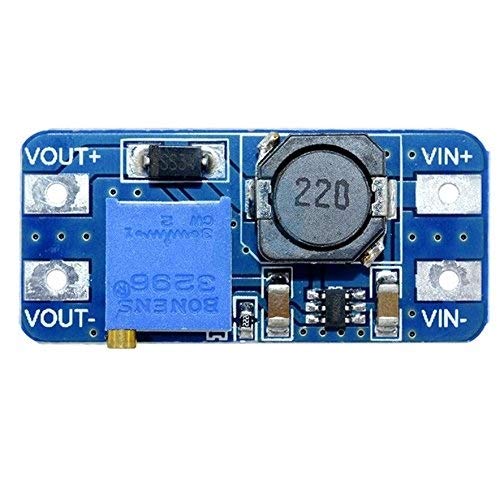
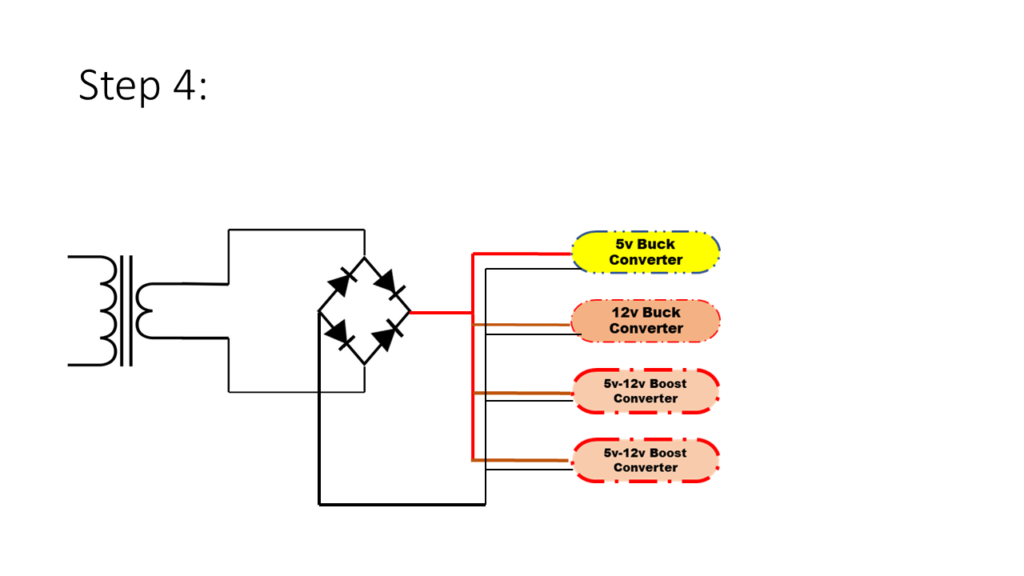
4). Place a 5v Buck Converter, 12v Buck Converter & 5v-12v Boost Converter(2) one by one, shown in figure(1.4).
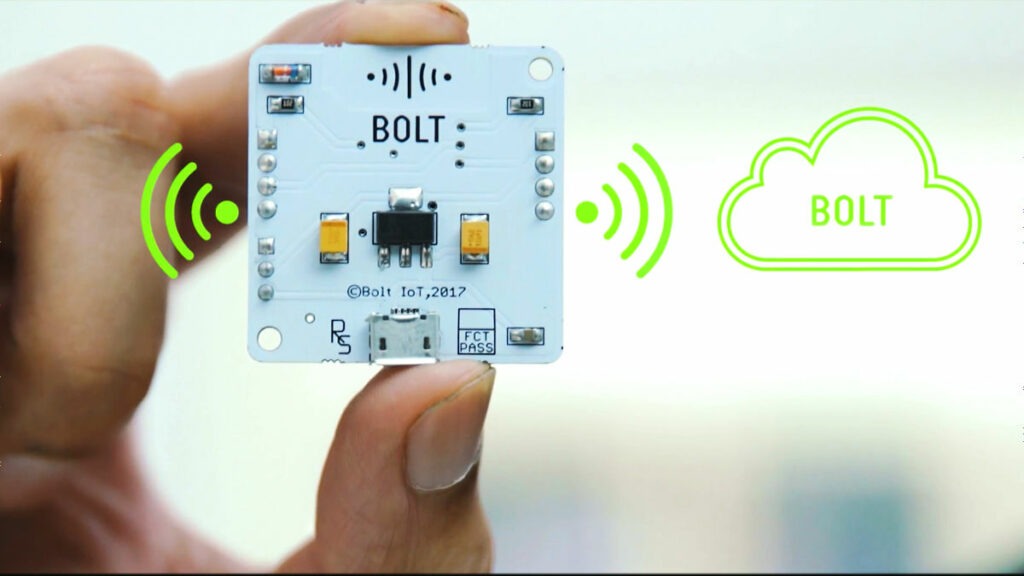
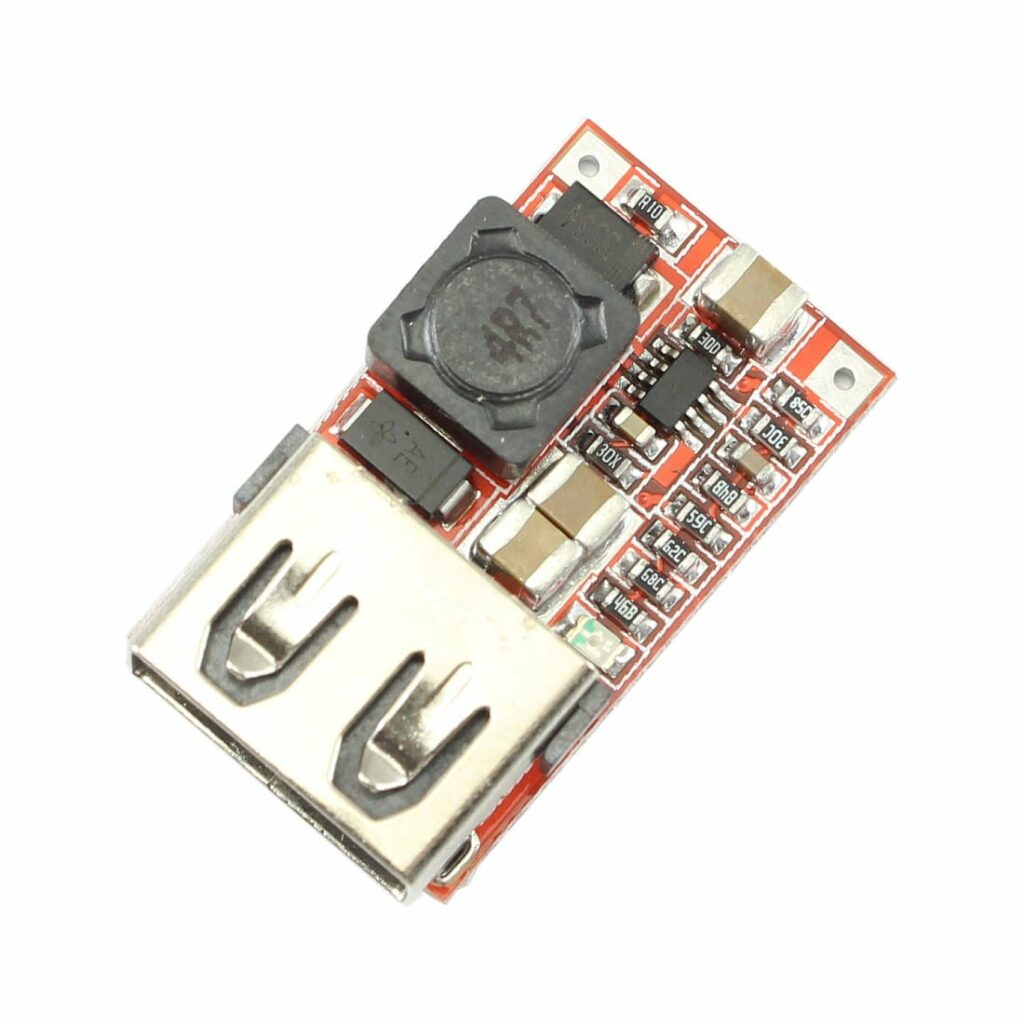
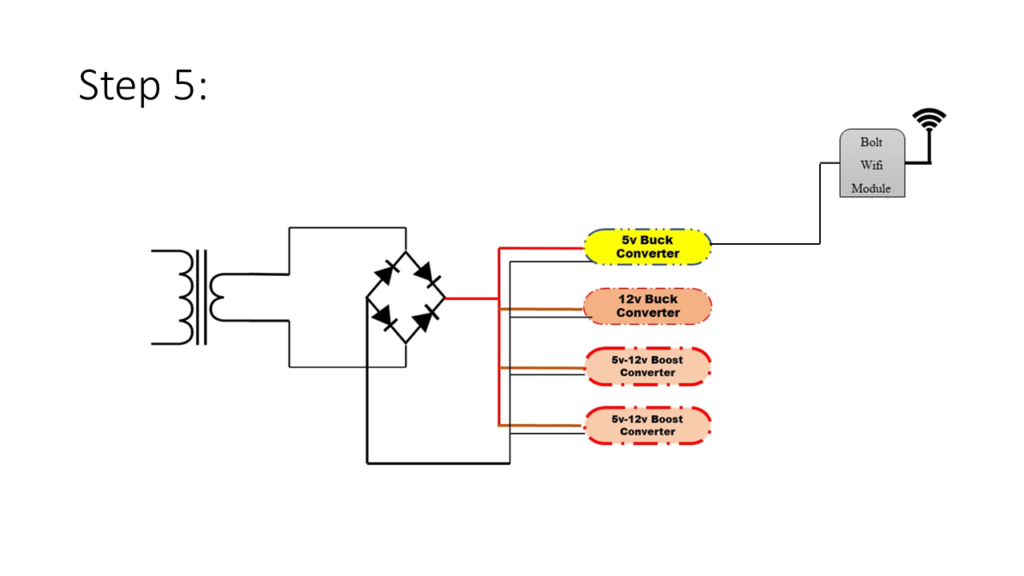
5). Connect the output of the 5V Buck Converter to the BOLT wifi module for power supply, shown in figure(1.5).
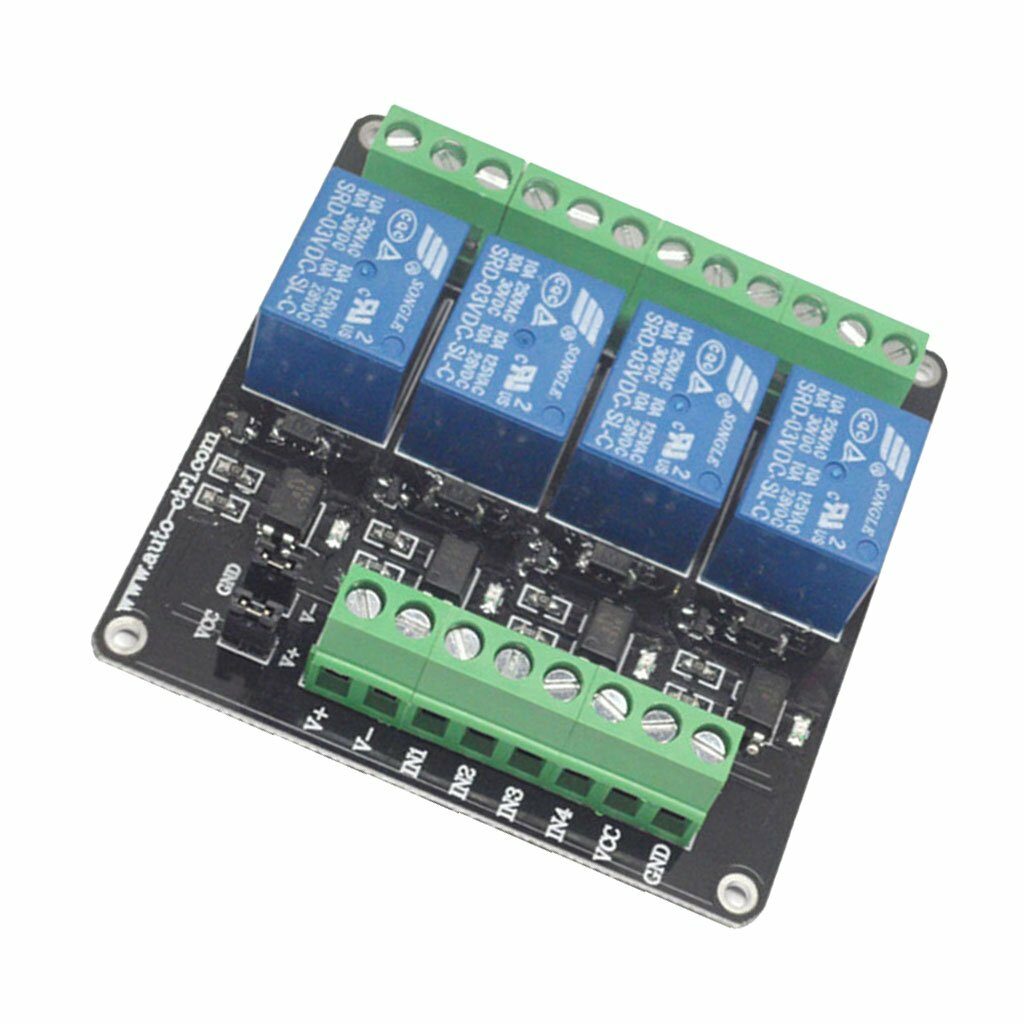
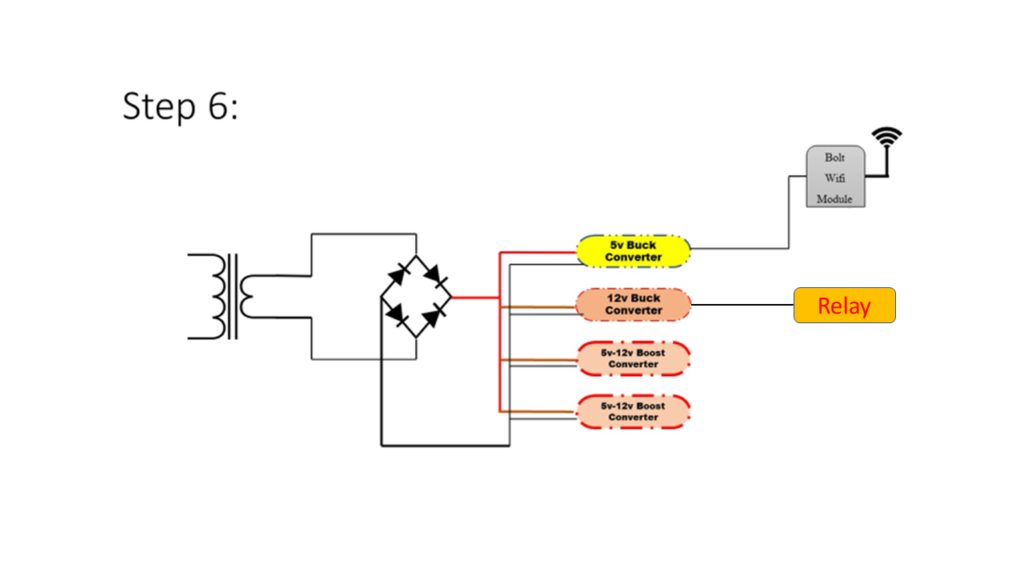
6). Connect the output of the 12V Buck Converter into a 3v relay module as an input supply for the relay, shown in figure(1.6).
7). Connect the output of the 5v-12v boost converter into a 3v-relay module input supply terminal. At the same time, you also connect the jumper wires in the relay output terminal, shown in figure(1.7).
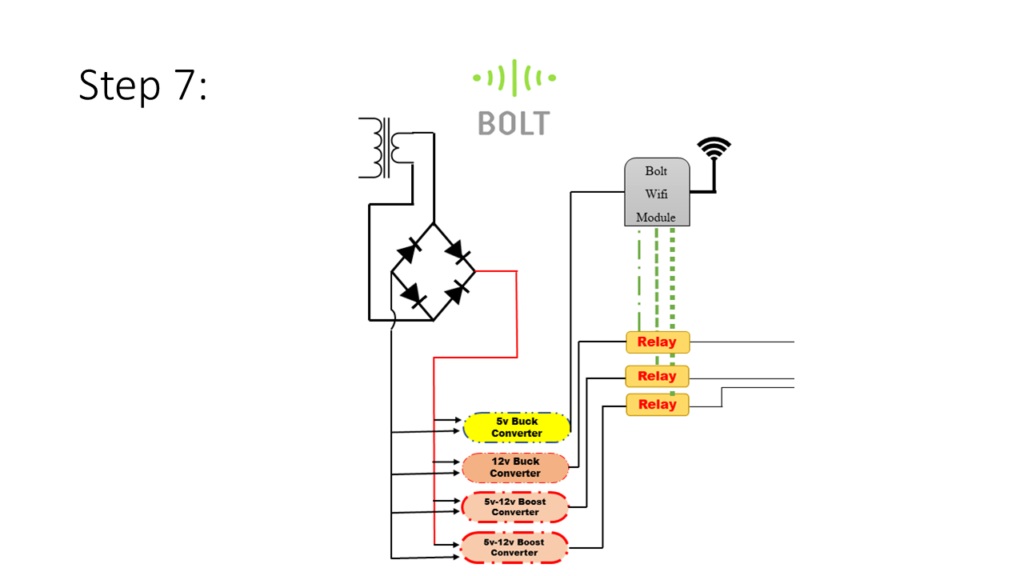
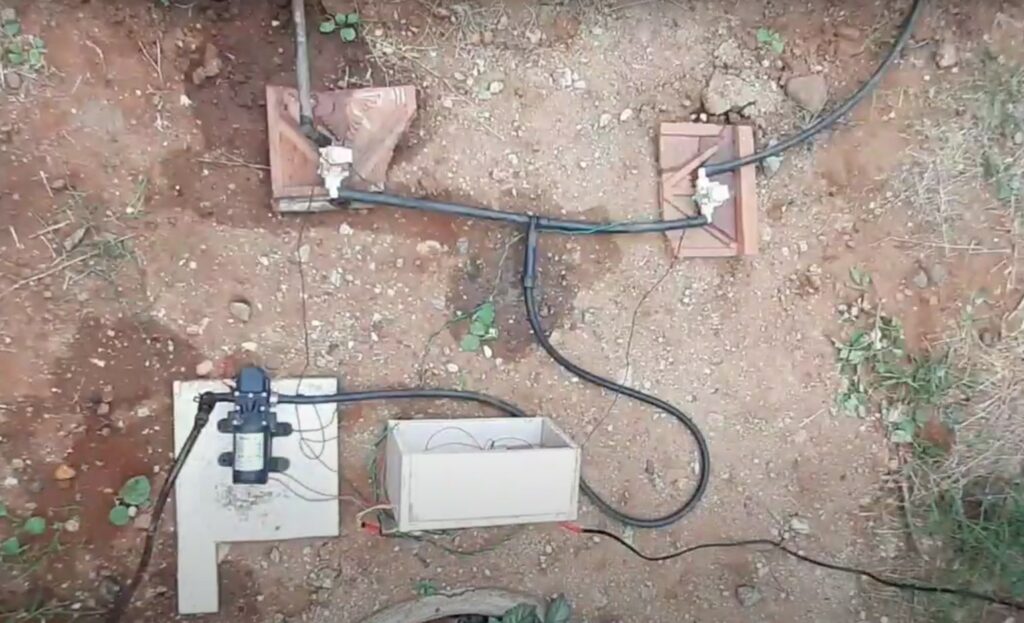
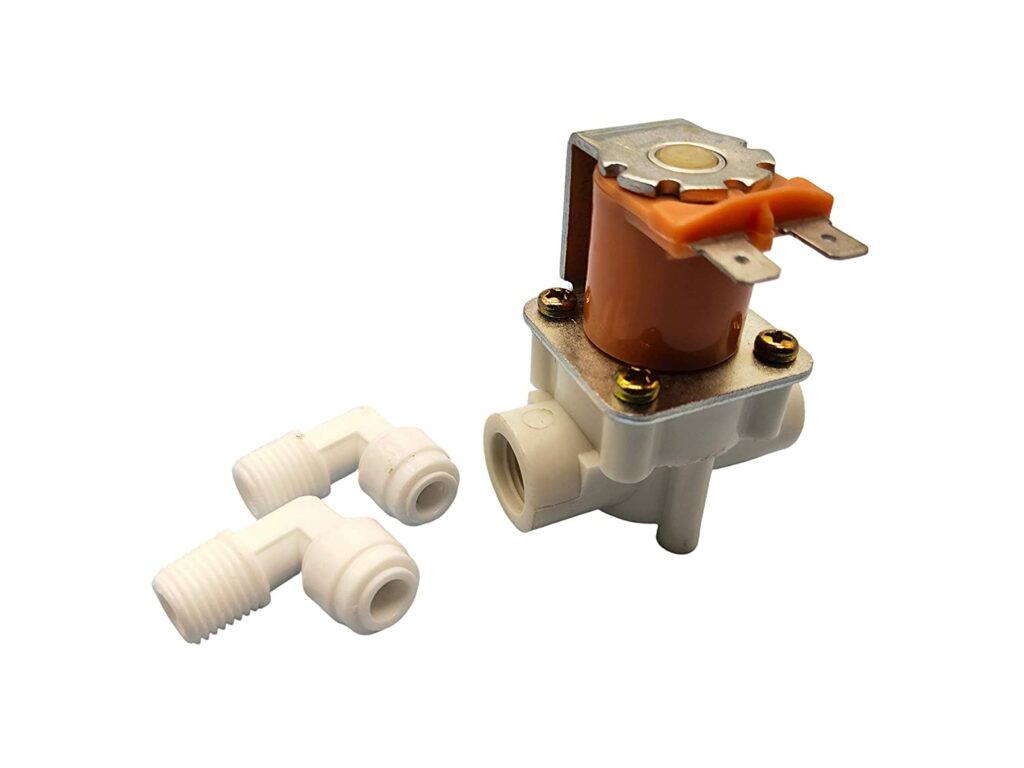
8). Connect port 1 of the wifi module to the 1st relay module. Which was set for a DC pump electric supply and also connect ports 2&3 to two solenoid gate valves power supply, shown in figure(1.8).
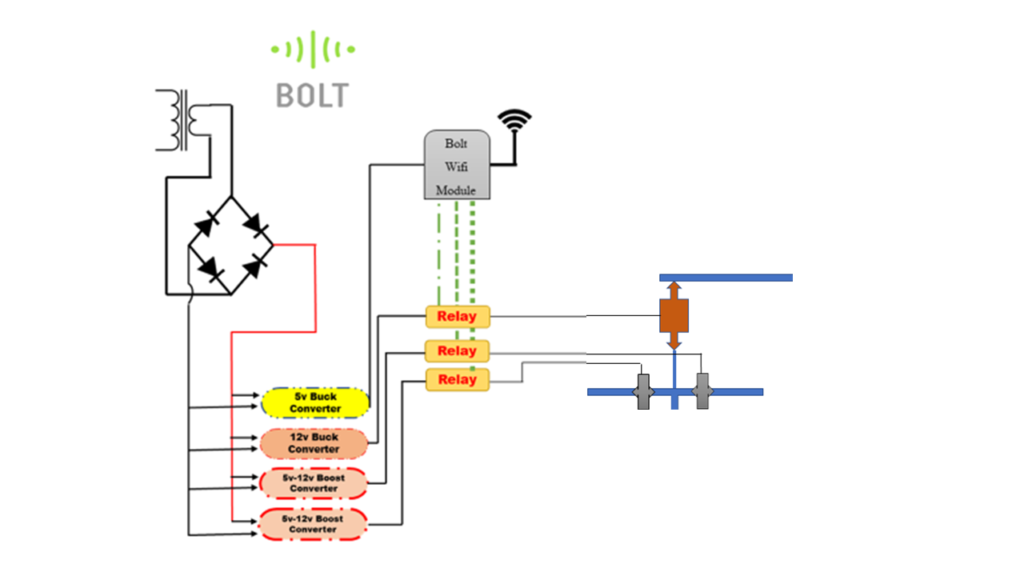
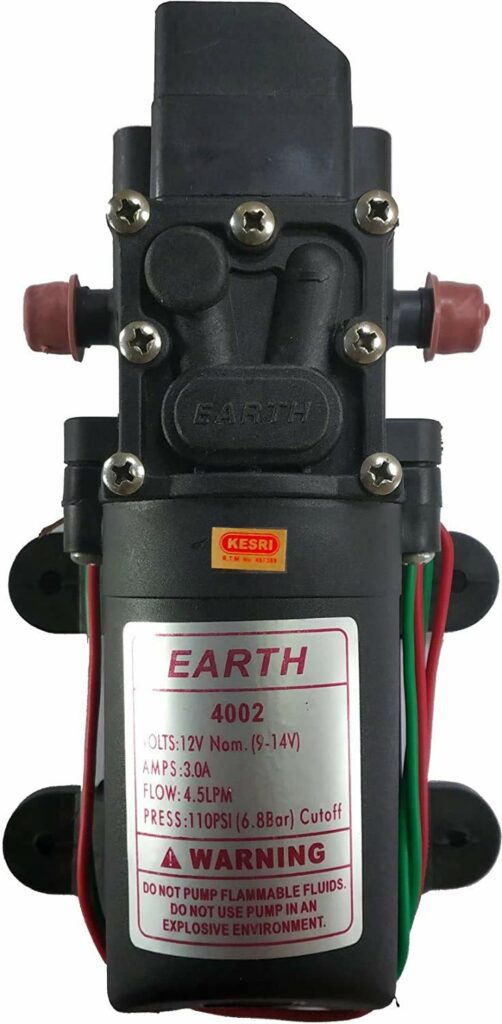
NOTE: It is your wish if you can fix more gate valves for irrigating more plants in gardening. Hence, the gate valve is used for dividing into small chunks for irrigation because we have only used the 12v dc pump it has a small pressure to pump out the water. So we want to irrigate a big garden we have to install gate valves to irrigate plants for a long distance.
Software Programming:
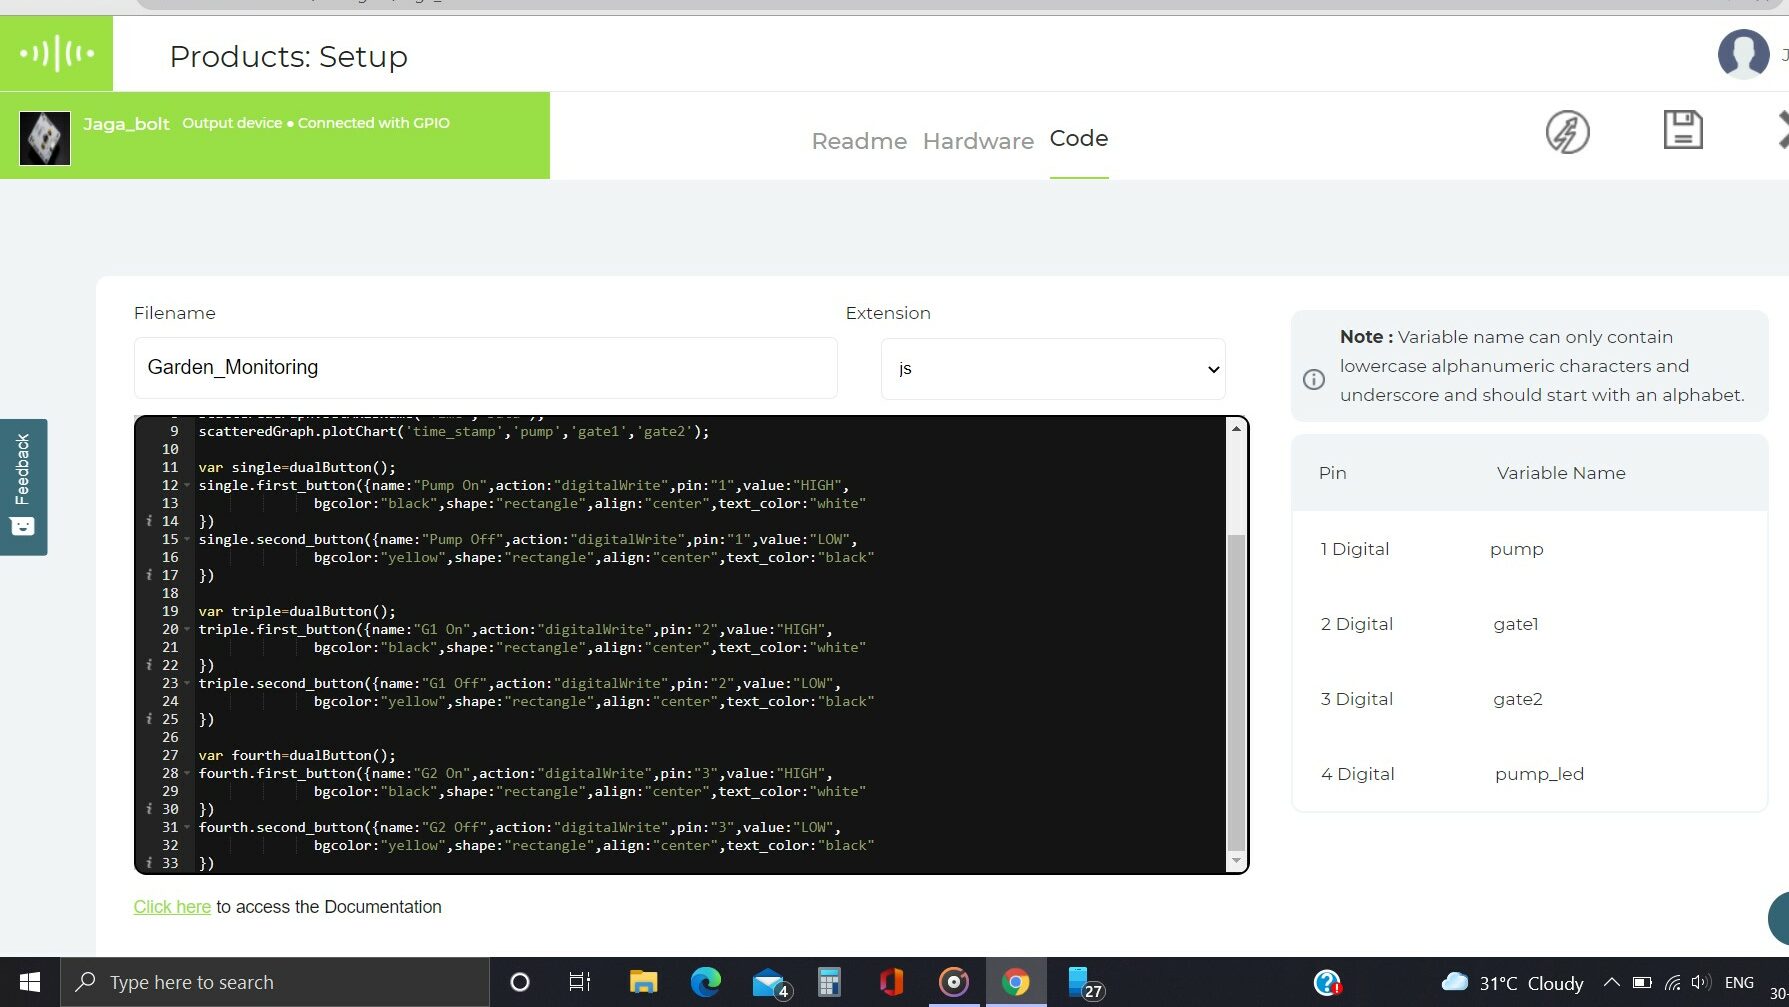
var histogramGraph=new boltGraph(); |
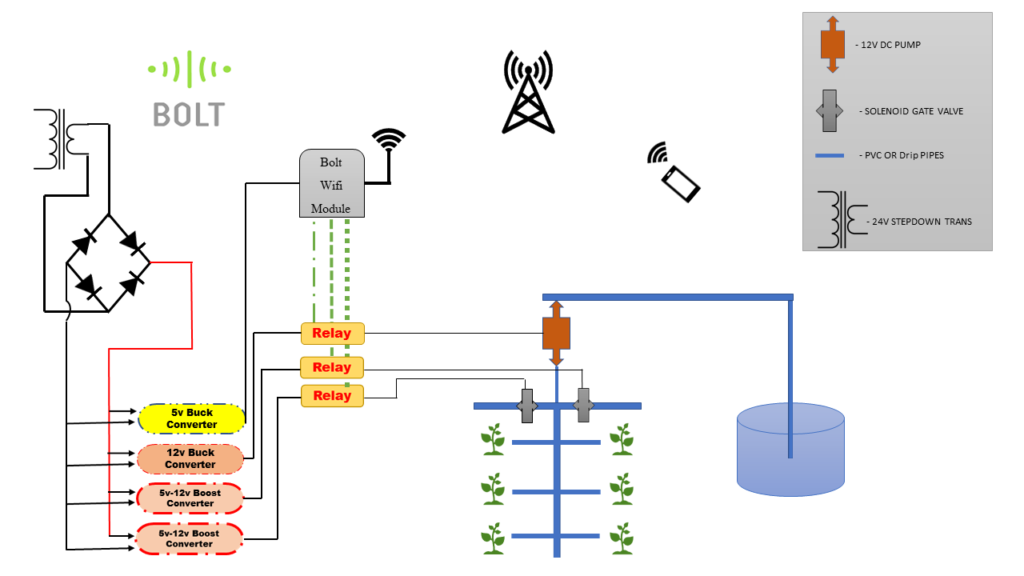
Schematic Diagram:
Conclusion:
We will irrigate a garden everywhere through the internet by using the Bolt wifi module & cloud service.